Create a Windows 11 Recovery Drive Easily
Founder & Lead Technology Analyst at Techny Tech · IEEE Senior Member, Certified Information Systems Security Professional (CISSP) · 13+ years in embedded systems benchmarking, machine learning hardware acceleration, and consumer electronics
A Windows crash or boot failure can leave you locked out of your PC in minutes. Knowing how to create a Windows 11 recovery drive means you’ll have a bootable USB ready to fix startup issues, restore system files, or even reset your machine without a full reinstall. It’s a one-time setup that takes under 20 minutes and requires just a USB drive and a few clicks.
Microsoft’s own specifications confirm a 16GB USB is the sweet spot for a full recovery drive, though 8GB works for basic troubleshooting tools. Here’s what you need to know before you start.
how to create a Windows 11 recovery drive
Open the Start menu and type "Create a recovery drive." Select the tool and follow the prompts. Insert a USB drive with at least 16GB of space. Check the box to back up system files for a full recovery.
Click Create and wait for the process to finish.
Why You Need a Windows 11 Recovery Drive (And When It Won’t Save You)
A recovery drive is your lifeline when Windows 11 refuses to boot. It loads the Windows Recovery Environment (WinRE), a lightweight system with tools like Startup Repair, System Restore, and Command Prompt. Without it, you’re stuck relying on a friend’s PC or a repair shop.
But it’s not a magic fix. A recovery drive won’t help if your hard drive is physically dead or if your PC has a motherboard failure. It also won’t recover personal files unless you’ve previously backed up a system image.
For hardware issues, you’ll need professional help.
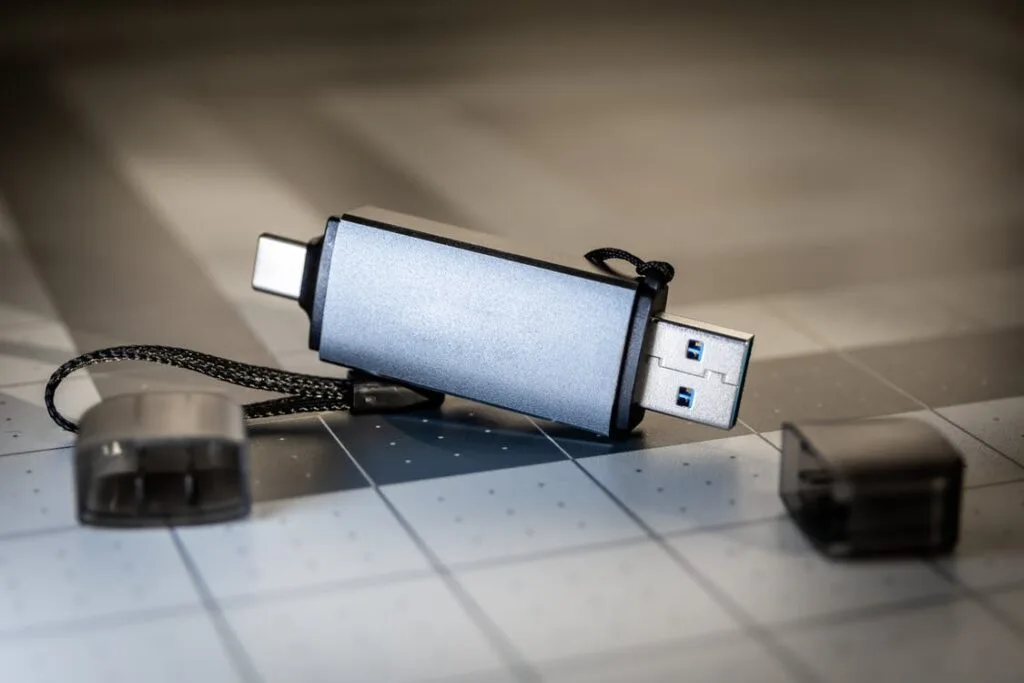
Image source: Bing (Web (fair-use with source credit))
Quick Answer: The Fastest Way to Create a Recovery Drive
The quickest method is using Windows 11’s built-in tool. Plug in a USB drive, open the Start menu, and search for "Create a recovery drive." Launch the tool, select your USB, and check the box to include system files. The process takes 10, 20 minutes, depending on your USB speed.
For the fastest results, use a USB 3.0 drive and a USB 3.0 port. Avoid cheap, slow drives, they can drag out the process or fail entirely. Once created, label the drive clearly and store it safely.
You’ll need it only in emergencies, but when you do, it’s invaluable.
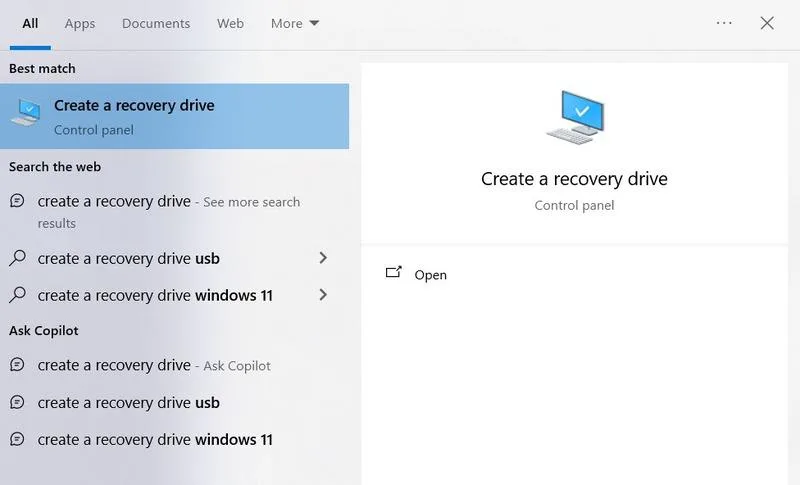
Image source: Bing (Web (fair-use with source credit))
What Goes Into a Recovery Drive (And What Doesn’t)
A recovery drive contains the Windows Recovery Environment (WinRE), a minimal OS with troubleshooting tools. This includes Startup Repair, System Restore, Command Prompt, and the option to reset your PC. If you choose to back up system files, it also includes a copy of your Windows 11 installation, which allows for a full reinstall.
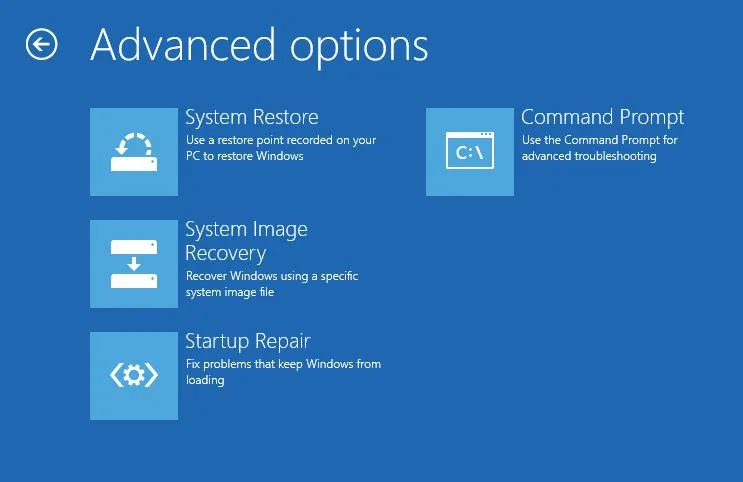
Image source: Bing (Web (fair-use with source credit))
What it doesn’t include are your personal files, apps, or settings. Those aren’t part of the recovery drive unless you’ve separately created a system image backup. The drive is also not a substitute for regular backups, think of it as a tool for fixing Windows, not restoring your data.
The size of the recovery drive varies. A basic version with just WinRE takes up about 512MB, 1GB. Adding system files bumps it to 4GB, 8GB, and a full system image can require 16GB or more, depending on your system.
Step-by-Step: How to Create a Windows 11 Recovery Drive
Start by gathering a USB drive with at least 16GB of free space. If your PC uses BitLocker encryption, suspend it temporarily in Settings > Privacy & Security > Device Encryption. This prevents the recovery drive creation from failing.
Open the Start menu and type "Create a recovery drive." Select the matching result to launch the tool. If prompted by User Account Control, click Yes to proceed. The tool will detect your USB drive, make sure it’s the correct one, as the process will erase everything on it.
Check the box labeled "Back up system files to the recovery drive." This ensures you can reinstall Windows 11 if needed. Click Next, then Create. The tool will format the USB and copy the necessary files.
This can take 10, 20 minutes, depending on your system and USB speed.
Once complete, you’ll see a message confirming the recovery drive is ready. Safely eject the USB and label it clearly. Store it in a safe place, preferably not on the same PC it’s meant to recover.
Test it by booting from the USB in your BIOS/UEFI to confirm it works.
Common Mistakes That Break Recovery Drives (And How to Fix Them)
Using a USB that’s too small is the top reason for failure. A basic recovery drive needs at least 512MB, but 16GB is recommended if you include system files. If the tool errors out, try a larger drive.
Not suspending BitLocker can also cause issues. If your device uses BitLocker encryption, pause it in Settings before creating the drive. Otherwise, the process may fail or the drive won’t work when needed.
Another common mistake is selecting the wrong disk. The tool will erase the chosen USB, so double-check the drive letter. If you accidentally pick the wrong one, you could wipe important data.
Finally, skipping the test boot is risky. Always plug in the USB and boot from it in your BIOS/UEFI to confirm it loads WinRE. If it doesn’t, recreate the drive with a different USB or port.
Recovery Drive vs. Installation USB vs. System Image: Which One Do You Need?
A recovery drive is best for troubleshooting and repairing Windows 11. It includes WinRE tools like Startup Repair and System Restore but doesn’t reinstall Windows unless you’ve backed up system files.
An installation USB is a full Windows 11 installer. It can repair or reinstall Windows but is larger (8GB+) and requires downloading the ISO from Microsoft. Use this if you need a clean install or major repair.
A system image is a full backup of your entire drive, including apps, settings, and files. It’s the only option for restoring everything exactly as it was. However, it requires significant storage space and must be updated regularly.

Image source: Bing (Web (fair-use with source credit))
For most users, a recovery drive with system files is the simplest solution. If you need a full reinstall option, pair it with an installation USB. For complete data protection, add a system image backup to an external drive.

Similar Posts